In this tutorial, you will see how to configure ASM (Automatic Storage Management) which helps to group the disks into one or more diskgroups in the storage system and its potentially helps to reduce the manageability of handing the big collection of database files. Follow the below steps to complete the installation.
Preinstallation
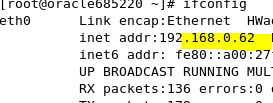
Step1: Select host only adapter in both the guest machine and assign same network address for guest as well as host windows.


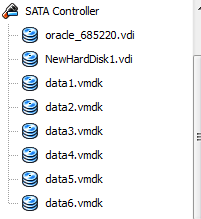
Step2: create required disk in vm for OCR, DATA and FRA
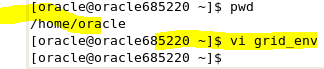
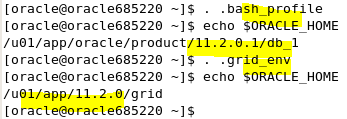
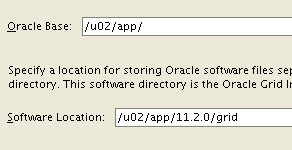
Step3: go to oracle and add grid_home in bash profile and execute it.
Note: mkdir –p /u01/app/11.2.0/grid
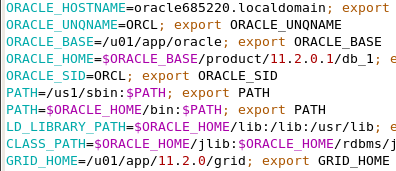
Step4: create grid_env for asm environment variables

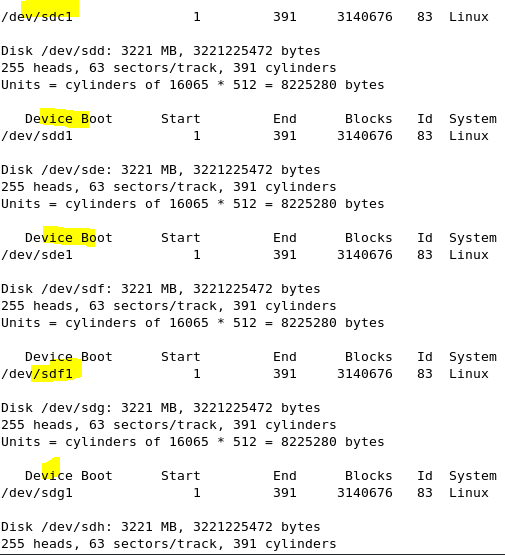
Step5: format the disk in root by below commands,
Fdisk –l
Fdisk /dev/sdc1 and press p,1 and w
Step6: install asm packages orderly,

Step7: configure the oracleasm
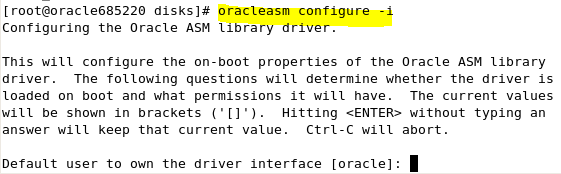
Give user and group name
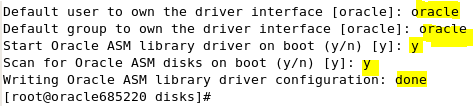
Step8: initialize the asm,
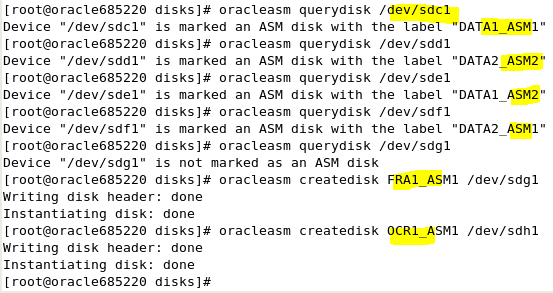
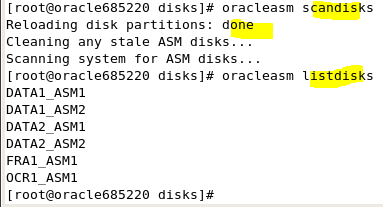
Step9: create asm disk as below,
Installation
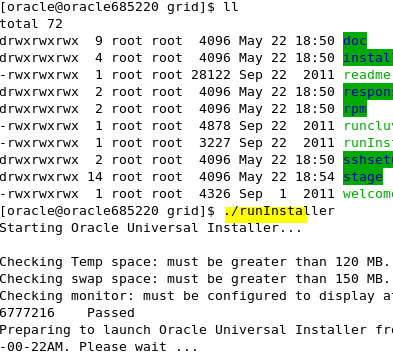
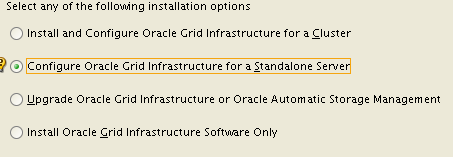
Step10: open the grid_64 and install in oracle prompt,
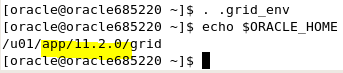
Vi .grid_env involved the below variables

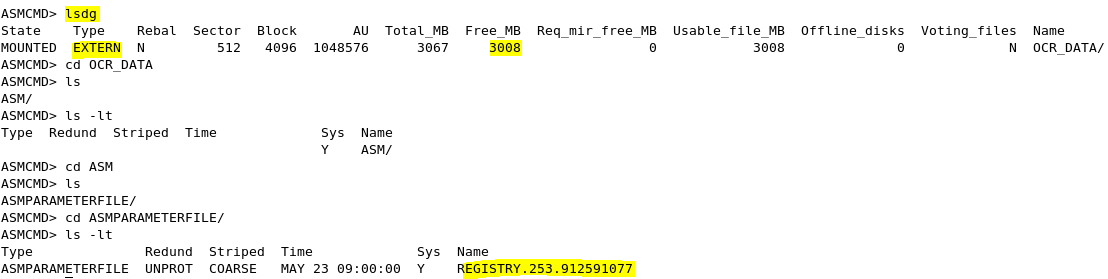
Step11. Set asm home and open asmcmd,
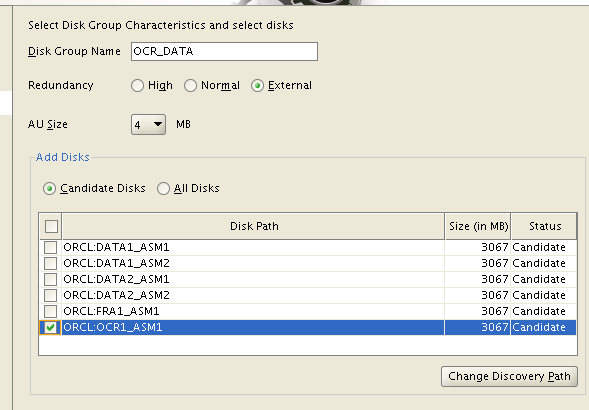
Creation of disk group
Step12: open sqlplus asm and check the status of the disk group which is created on the time of installation,

Header_status
Provisioned – qualifying all the criteria to be part of specific group
Member – part of any disk group
Former – earlier it was a part of any dg
Candidate – same as provisioned
Mount_status
Cached – part of memory
Closed – still not created
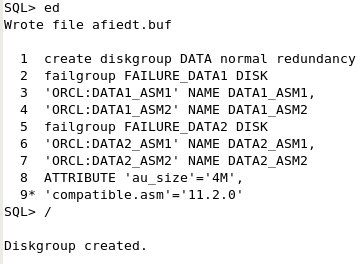
Step13: open vi and give the syntax as shown below,

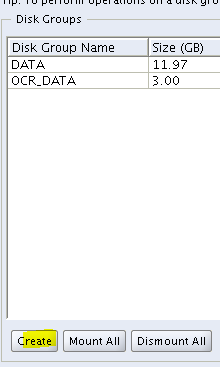
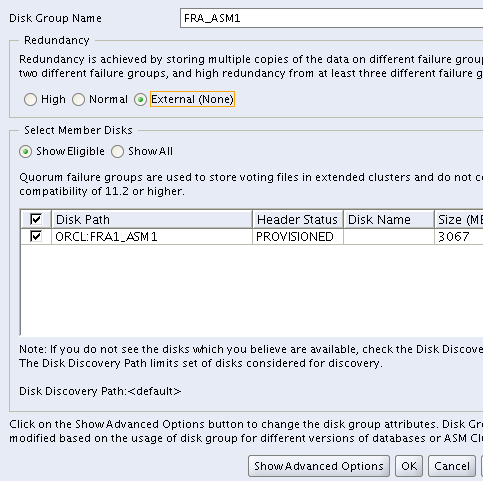
Step13: Create one more disk group using asmca

Validations
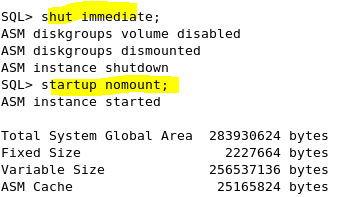
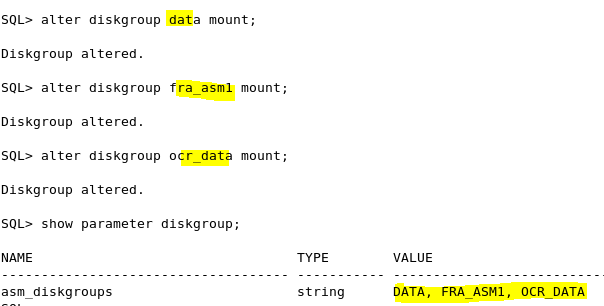
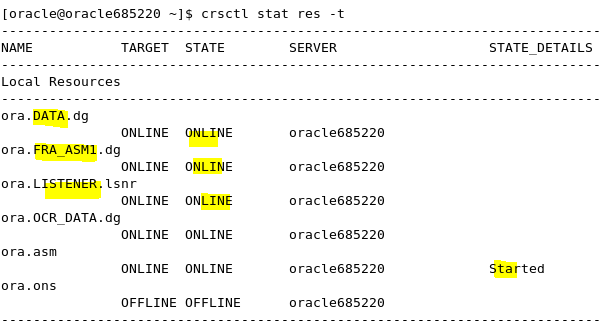
Step14: check the dg state as below,
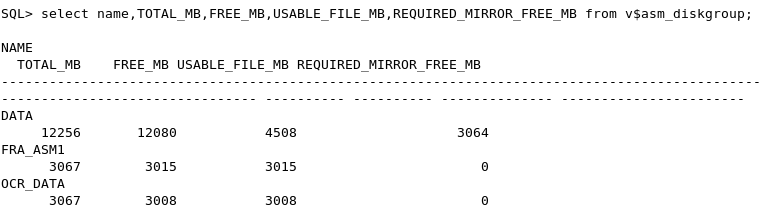
Step15: check the status in sqlasm
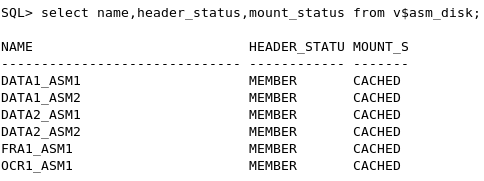
Step16: As per the below output, OCR is missing,

To get it to be mounted do as below,